Lighting for Macro: Ring Lights, Twin Flashes and Diffusers
We have all been there. You spend twenty minutes crouched over a dew-covered damselfly in a local nature reserve, finally nail the focus, get home, and the shot is flat. No depth, no texture, no life. The culprit is almost never the lens or the camera — it is the light. In close-up photography, lighting is not a supporting act; it is the make-or-break factor that separates a record shot from an image that stops people mid-scroll. In this guide, we run through the three main approaches we use in the field — ring lights, twin flashes and diffusers — and explain where each one earns its place in a UK macro kit bag.
Why Macro Lighting Is Different
Macro photography breaks the usual rules of lighting. At 1:1 magnification, your working distance may be just 5–10cm from the front element to the subject, which means your lens itself often blocks the very light you are trying to direct. Add a narrow depth of field that forces you down to effective apertures of f/16 or smaller, and you have a recipe that demands powerful, controllable, close-range illumination.
The Inverse Square Law at Close Range
The inverse square law states that light falls off with the square of the distance. At normal shooting distances this is a mild inconvenience; in macro it is brutal. Move a flash from 30cm to 60cm from a beetle and you lose roughly two stops of light. Move it from 10cm to 20cm and the same thing happens over a distance shorter than your hand. This is why macro flash heads sit on brackets inches from the subject, and why pop-up flash or a hot-shoe-mounted speedlight pointed vaguely forward rarely delivers enough punch.
Diffraction and the Need for More Light
To get a whole insect eye sharp, we often stop down to f/11, f/16 or beyond. At these apertures diffraction softens the image, and the effective aperture at high magnification is even smaller than the marked figure. The only practical answer is more light — either through flash or through focus stacking with a static subject. Flash gives us the shutter speed and aperture freedom to shoot handheld in woodland shade, which is where most of our best work happens.
Ring Lights: Convenient but Compromising
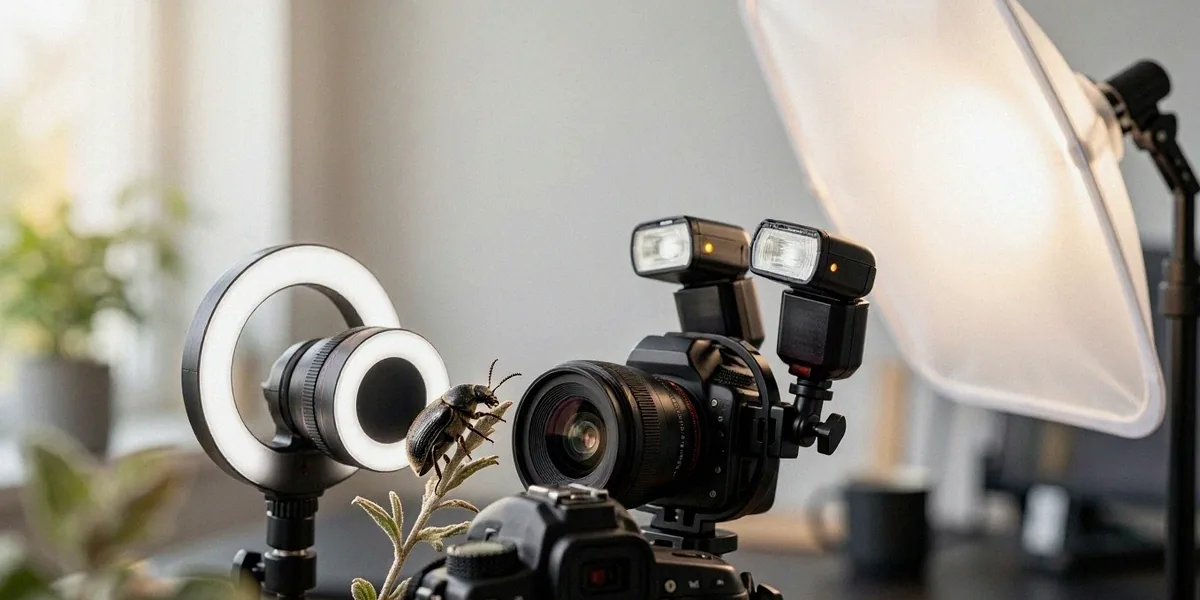
Ring lights such as the Canon MR-14EX II and the Godox R200 are the classic entry point. They mount around the front of the lens, fire directly at the subject, and produce an even, shadowless wash of light. For documentation — recording a specimen, capturing a coin or a stamp, or shooting technical reference images — that flatness is actually a virtue. Nothing is hidden, everything is legible.
When Ring Lights Work Well
- Scientific and documentary work where even illumination matters more than mood
- Copy-stand style close-ups of flat subjects such as leaves, coins and stamps
- Beginners who want a simple, always-there light source with TTL metering
- Field notes and identification shots where texture is secondary to clarity
The Flat-Light Problem and Workarounds
The trade-off is that ring lights kill texture. Every dimple on a beetle’s carapace, every hair on a jumping spider, every ridge on a fungus cap needs shadow to read as three-dimensional. Ring lights also leave tell-tale ring-shaped catchlights in eyes and reflective surfaces, which can look clinical. Workarounds include firing only one half of the ring, taping over part of the ring to create a directional bias, or adding a small diffuser over one side. None of these fully solve the problem — they just soften it.
Twin Flash Systems: Our Preferred Setup
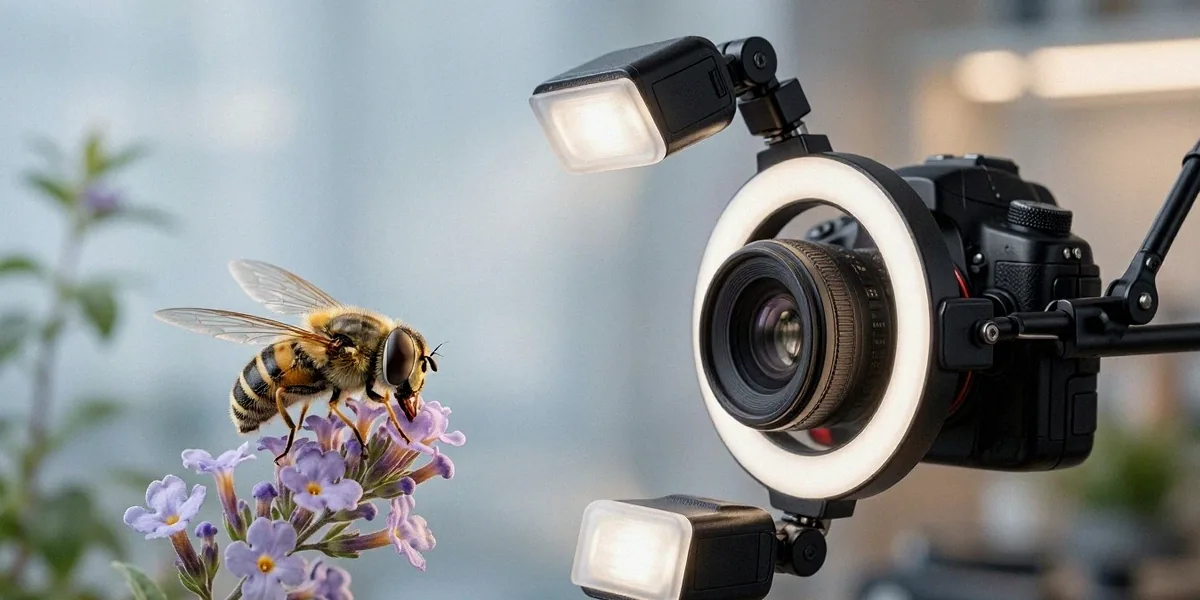
If we had to pick one lighting rig for the rest of our macro careers, it would be a twin flash. Systems like the Canon MT-26EX-RT and the Godox MF12 use two independent heads mounted on a bracket around the lens, and crucially, each head can be dialled in separately. That ratio control is the whole point. Set the left head to 1/4 power and the right to 1/16 and you get directional light with a soft fill — exactly what you need to sculpt a mushroom or reveal the sculpting on a hornet’s face.
Wireless Twin Flash on a Budget
The Godox MF12 is the obvious budget hero here. It is small, runs on rechargeable batteries, and can be triggered wirelessly from a Godox transmitter or a compatible on-camera commander. Two MF12s plus a trigger costs a fraction of a first-party twin flash, and the output is more than enough for 1:1 work. We have run this exact setup in the Cairngorms in near-freezing conditions and it has never let us down.
Positioning Heads for Natural Modelling
A good starting point is 10 o’clock and 2 o’clock, both angled slightly down towards the subject, with the key light at roughly twice the power of the fill. For translucent subjects like backlit fungi, move one head behind the subject. For flat subjects, bring both heads forward and closer together. The flexibility is the reason we favour twin flash for insects and fungi in UK woodlands — you can react to the subject rather than fighting your light.
Diffusers: The Unsung Hero of Macro Lighting
No flash setup, however expensive, will look good without diffusion. Bare flash produces hard-edged shadows and blown specular highlights — the white blobs on beetle shells and dew droplets that ruin otherwise strong images. A diffuser spreads the light source, softens the transition between highlight and shadow, and preserves colour and detail in reflective surfaces.
DIY vs Commercial Diffusers
We started with tracing paper taped to a plastic milk carton and it worked surprisingly well. Commercial options like the Cygnustech diffuser and the AK Diffuser are purpose-built for macro flash heads and offer better light shaping, more robust mounting, and a larger diffusion surface. If you shoot macro seriously, the upgrade is worth it. If you are experimenting, a milk carton, some baking parchment and a bit of gaffer tape will teach you more about light than any YouTube tutorial.
Diffusion Size, Distance and Softness
The softness of light depends on the apparent size of the source relative to the subject, not on the diffuser material alone. A large diffuser held close to a beetle produces beautifully soft light; the same diffuser held far away behaves like a small source. Push your diffuser as close to the subject as you can without entering the frame, and make it as large as is practical. This single change transforms most macro images.
Budget and Hybrid Solutions for UK Shooters
Not everyone wants to spend £600 on a twin flash. The Raynox DCR-250 is a popular close-up lens for macro photography, and paired with a cheap manual flash and a DIY diffuser it forms a complete, capable macro lighting kit for under £150. Add a Venus Optics KX-800 twin flash and you have directional light without the first-party price tag.
Using the Raynox DCR-250 with Off-Camera Flash
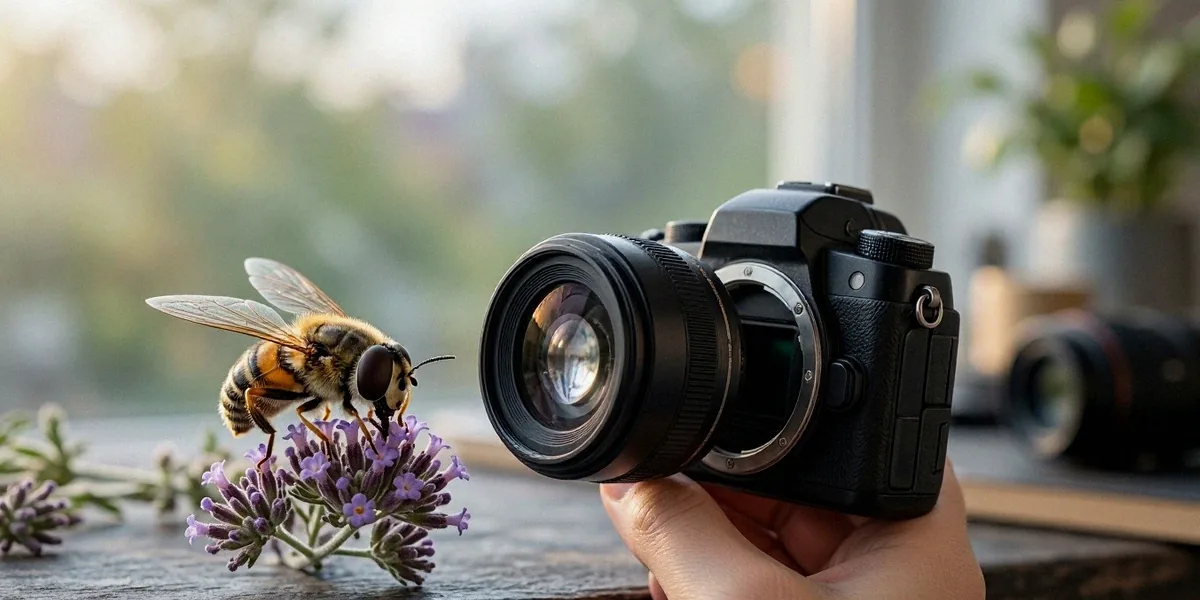
The Raynox DCR-250 clips onto the front of a telephoto or macro lens and gives you roughly 2.5x magnification. Because the working distance shrinks dramatically, your flash needs to sit low and close. A small manual flash held in the left hand, or mounted on a compact bracket with a diffuser, works beautifully. Manual power control is fine here — once you have dialled in the exposure for a given working distance, it stays consistent.
Weather-Proofing Your Lighting Kit for British Conditions
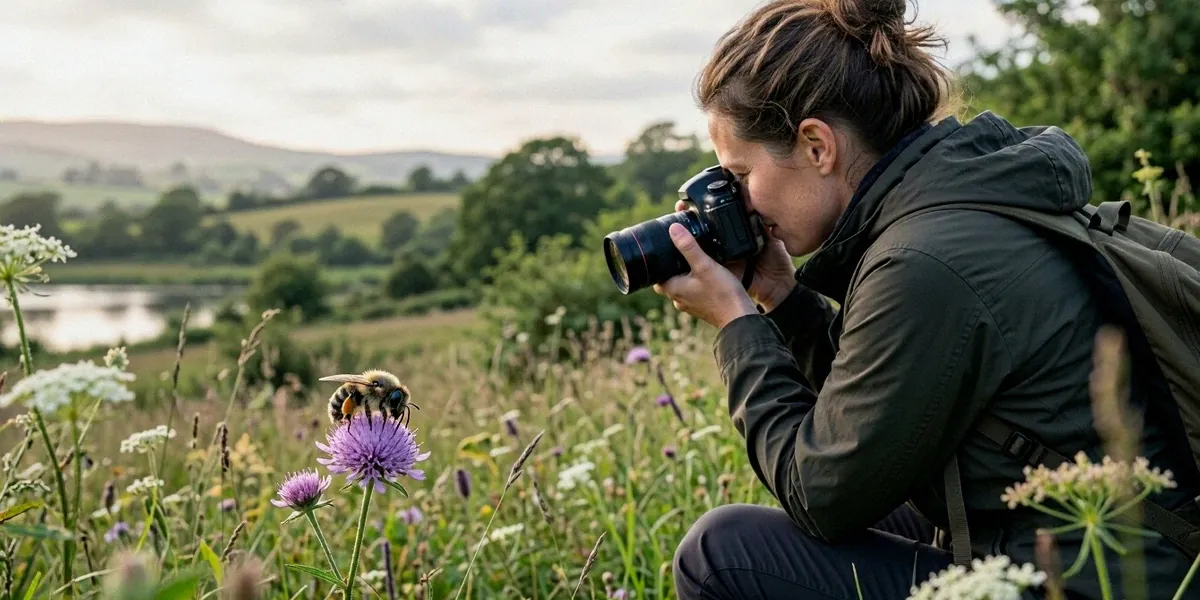
British weather is dull, overcast and frequently wet, and that shapes our lighting choices. Overcast light is actually a gift for ambient backgrounds, but it is too weak for stopped-down macro, so flash does the heavy lifting. Rain means we carry a small dry bag, silica gel sachets, and a microfibre cloth for the diffuser. Cold snaps drain batteries fast, so we carry spares in an inside pocket. In woodland shade — the Norfolk Broads in autumn is a good example — flash is not optional; it is the whole game.
Putting It All Together: A Practical Lighting Workflow
Here is the workflow we use in the field, in order:
- Start with ambient light. Meter the scene and see what the background looks like without flash. You want a background that is not black.
- Add diffused flash at low power and check the histogram. Aim for highlights just below clipping.
- Adjust the flash-to-ambient ratio by changing shutter speed (which affects ambient) rather than flash power (which does not).
- Fine-tune head positions and ratios for the subject in front of you.
- For stacked images, lock everything down and keep the lighting identical across the whole sequence.
Setting Flash Exposure Manually
TTL is convenient but inconsistent at macro distances, because tiny changes in working distance swing the exposure wildly. We shoot manual flash almost all the time. Set the power, take a test frame, check the histogram, adjust, and then leave it alone. Consistency is worth more than automation.
Maintaining Consistency for Focus Stacking
Focus stacking demands that nothing changes between frames except the focus plane. That means fixed flash power, fixed head positions, fixed diffuser, and no ambient light drifting through the scene. Shoot in shade, or use a diffusion panel to block the sun, and you will get clean stacks from the Cairngorms to the Norfolk Broads without weird brightness shifts in the final composite.
FAQ
Do I really need a twin flash for macro photography?
No, but it helps enormously. A single diffused speedlight will get you very far, and many excellent macro images are made with one flash and a decent diffuser. Twin flash becomes worth the investment once you start chasing directional light and want ratio control without moving your rig.
Is the Raynox DCR-250 good enough for serious macro work?
Yes. The Raynox DCR-250 is a popular close-up lens for macro photography for good reason — it is small, sharp, and turns almost any telephoto or macro lens into a high-magnification tool. Pair it with a diffused flash and it will hold its own against dedicated macro lenses costing several times more.
What is the best diffuser for macro flash in the UK?
The Cygnustech diffuser and the AK Diffuser are the two commercial options we see most often in the field, and both are excellent. If you want to start cheap, a milk carton and tracing paper will teach you the principles before you spend money.
How do I stop my macro flash from blowing out highlights?
Diffuse it, move it further from the subject, and reduce power. Specular highlights on beetles and dew are the hardest thing to control, and a large diffuser held close is the single most effective fix. Check your histogram and expose so the brightest highlights sit just below clipping.
Does British weather affect which flash I should buy?
Yes. Dull, overcast conditions mean flash is doing most of the work, so output and battery life matter more than they would in sunnier climates. Weather-sealed bodies and spare batteries are sensible. Our twin flash rigs live in dry bags from October to March.
Lighting is where macro photography rewards experimentation more than any other discipline. Borrow a twin flash, build a bigger diffuser, and shoot the same subject three ways — the difference will be obvious the moment you open the files. If you have a favourite UK location or a lighting hack that works in our damp, overcast conditions, we would love to hear about it.


Post Comment