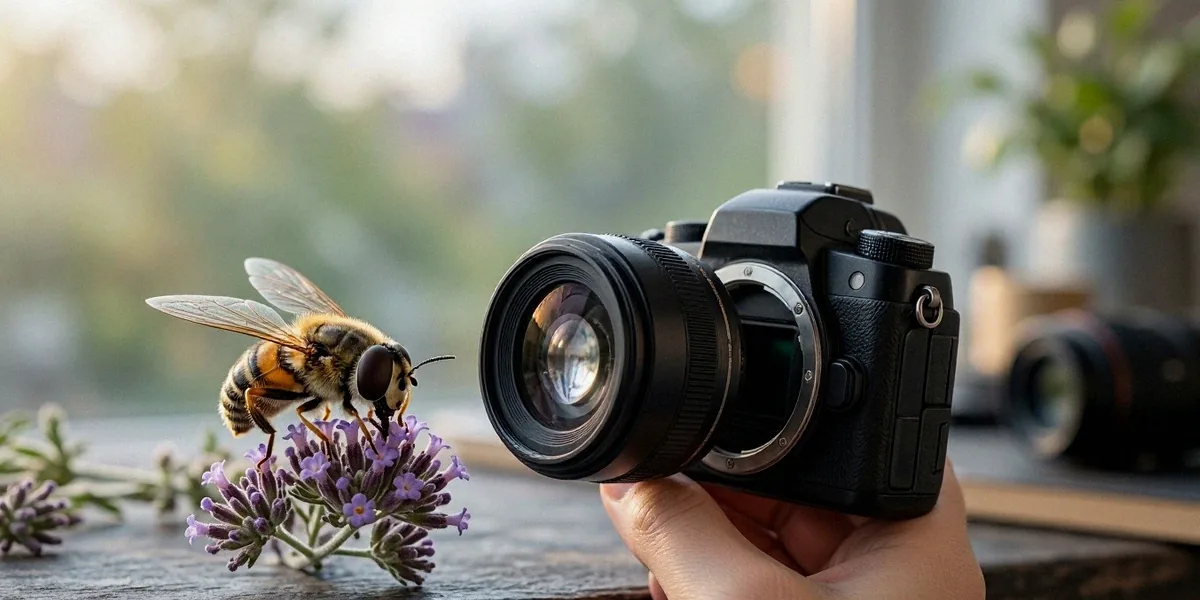
Reverse Lens Macro: A Cheap Way to Shoot Extreme Close-Ups
We have all been there. You spot a jumping spider on the garden fence, or a perfectly detailed coin on the desk, and you want to capture it in glorious, frame-filling detail. Then you look at the price of a dedicated macro lens and wince. A true 1:1 macro lens costs hundreds of pounds, and that is before you consider extension tubes or a decent flash. But here is the good news: you can get extreme magnification for less than the price of a decent meal out by simply turning your lens around. Reverse lens macro is our favourite budget workaround, and in this guide, we will show you exactly how to do it.
What Is Reverse Lens Macro and Why Does It Work?
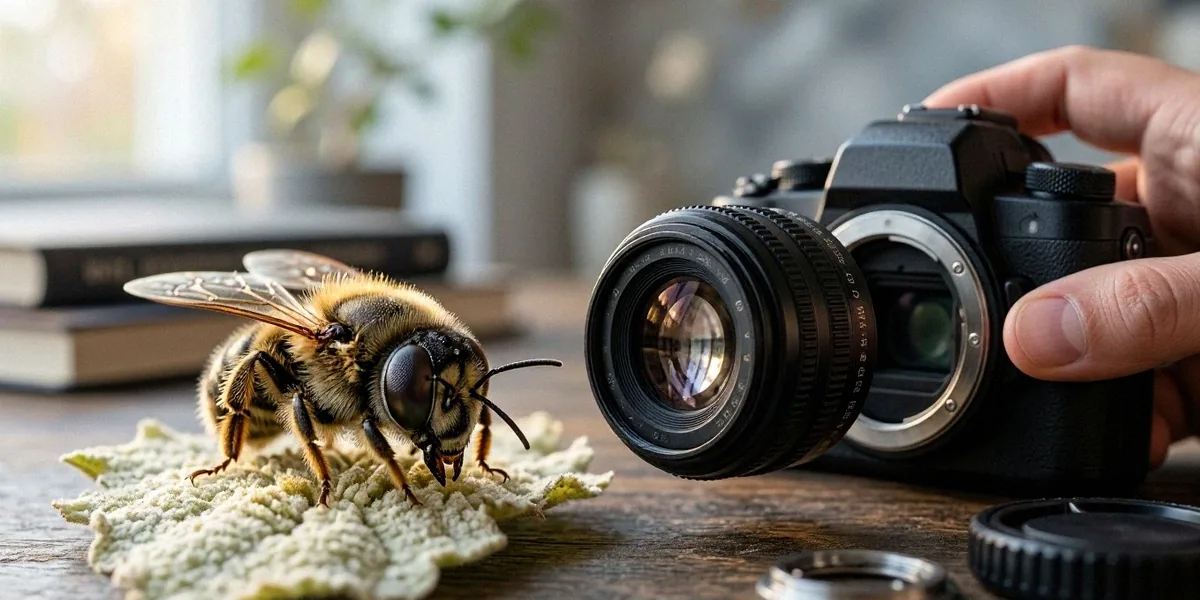
Reverse lens macro is exactly what it sounds like: you take a standard lens, flip it around so the front element faces the camera body, and mount it using a cheap adapter. This simple act transforms an ordinary 50mm lens into a powerful close-up tool capable of magnifications well beyond 1:1. It is a technique that has been popular in the UK macro community for years, particularly for shooting insects, coins, and intricate textures where every grain of detail matters.
The Science Behind Reversing a Lens
Lenses are designed to take a large scene and project it onto a small sensor. When you reverse the lens, you flip that optical formula. Instead of magnifying a distant scene down to the sensor, you are magnifying a tiny subject up to the sensor. The rear element, which normally sits close to the sensor, now faces the subject. Because the lens is designed to focus at a specific distance, reversing it forces the lens to work at very short distances, resulting in high magnification. The shorter the focal length, the greater the magnification. This is why a 50mm lens reversed gives you roughly 1:1 magnification, while a 28mm reversed can push you past 2:1.
Magnification You Can Expect from Common Lenses
Not all lenses are equal when reversed. Here is a rough guide to what we have found works well:
- 50mm lens: Roughly 1:1 magnification (life-size on the sensor).
- 28mm lens: Approximately 2:1 to 2.5:1 magnification.
- 24mm lens: Around 3:1 magnification, but very difficult to light.
- 100mm lens: Around 0.5:1, which is less useful for extreme close-ups.
For most beginners, a 50mm lens is the sweet spot. It offers a manageable working distance and good optical quality without being impossibly dark in the viewfinder.
Gear You Need: Cheap Adapters and Legacy Lenses
The beauty of reverse lens macro is that you probably already own half the kit. You need a reversing ring, which is a male-to-male filter thread adapter that screws into the front of your lens and mounts to your camera body like a normal lens. You also need a lens with a manual aperture ring, which is why legacy glass is perfect. We recommend looking for a Pentax-M 50mm f/1.7 or a Nikon Series E 50mm. These are plentiful on the used market and cost very little. For adapters, check UK retailers like Wex Photo Video or Amazon UK; a reversing ring costs less than £15.
Choosing a Legacy Lens for Reversing
Not every old lens is ideal. You want something with a smooth focus ring, a manual aperture ring, and good sharpness wide open. The Pentax-M 50mm f/1.7 is a superb choice because it is compact, sharp, and has a lovely aperture ring. The Nikon Series E 50mm is equally good. Avoid lenses with electronic apertures that cannot be controlled manually, as you will be stuck at one f-stop.
Reversing Rings vs. Coupling Rings
A reversing ring mounts one lens to the camera. A coupling ring mounts two lenses face-to-face, which gives you even more magnification but adds complexity and light loss. For beginners, start with a single reversing ring. It is simpler, cheaper, and easier to handle.
Optional Extras: Extension Tubes and Flash Diffusers
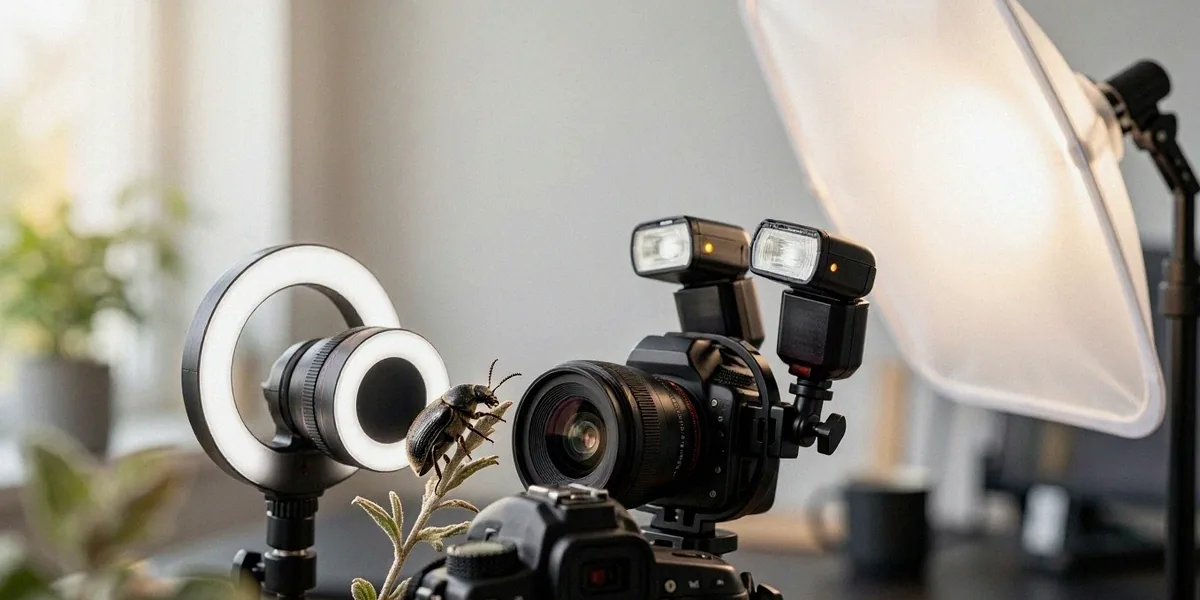
If you want to push magnification further, extension tubes between the camera and the reversed lens can help. But be warned: they eat light. A flash diffuser is almost essential. We use a simple DIY diffuser made from a plastic milk bottle, which works brilliantly with a cheap manual flash.
Step-by-Step: How to Shoot Reverse Lens Macro
Once you have your kit, the process is straightforward but fiddly. Here is how we do it.
Mounting and Setting Up
Screw the reversing ring onto the filter thread of your lens. Then mount the ring to your camera body. Set your camera to manual mode. Because there is no electronic communication, you will need to set the aperture manually on the lens. If your lens has an aperture ring, set it to f/8 or f/11 for a bit more depth of field. If it does not, you can use the aperture trick: set the desired aperture on a camera that controls it, press the depth-of-field preview button, and remove the lens while the aperture is stopped down.
Focusing and Composition
Autofocus will not work. You focus by moving the camera physically closer or further away from the subject. This is called focus breathing, and it takes practice. Rest your elbows on a stable surface, or better yet, use a tripod with a macro rail. For handheld work, brace yourself against something solid. Composition is tricky because the viewfinder is dark, so we often use live view and magnify the image to check focus.
Lighting and Flash Techniques
Light is your biggest challenge. Reversing a lens reduces the effective aperture, so your viewfinder will be dim. You need lots of light. A dedicated macro flash is ideal, but a cheap manual flash with a diffuser works wonders. We position the flash close to the subject, often using a bracket or just holding it in our left hand. The diffuser softens the light and prevents harsh shadows.
Overcoming the Challenges: Light, Stability, and Dust
Reverse lens macro is not without its frustrations. Here is how we tackle the most common problems.
Dealing with Aperture Control
Without electronic contacts, you lose automatic aperture control. This means you shoot wide open unless you manually stop down. The aperture trick works, but it is fiddly. Our advice: embrace the shallow depth of field. Focus on the eye of an insect or the date on a coin, and let the rest fall into soft blur.
Keeping Dust at Bay
When you reverse a lens, the rear element is exposed to the air. Dust, pollen, and moisture can settle on it, and because it is so close to the sensor, every speck shows up in your images. We always carry a rocket blower and a lens cloth. Check the rear element before every shot.
Using Natural Light in the UK
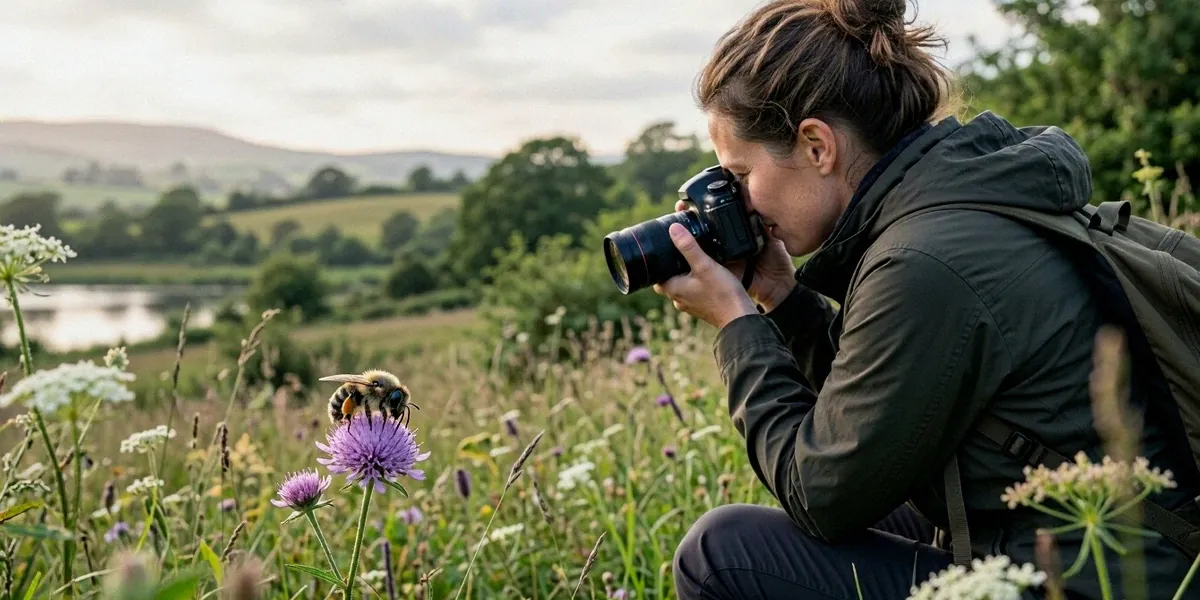
Here is a silver lining: UK overcast light is actually perfect for macro photography. The clouds act as a giant softbox, providing diffused, shadowless light that reveals detail without blowing out highlights. On bright sunny days, we often wait for a cloud to pass. So do not curse the British weather; use it to your advantage.
Reverse Lens vs. Raynox DCR-250 and Dedicated Macro Lenses
How does reverse lens macro stack up against other budget options?
Raynox DCR-250: A Convenient Alternative
The Raynox DCR-250 is a close-up filter that clips onto the front of your existing lens. It is quick to attach, maintains autofocus and aperture control, and costs around £60. It is less fiddly than reversing a lens and gives excellent sharpness. However, it does not offer the same extreme magnification as a reversed 28mm, and it can vignette on wide lenses.
When to Invest in a Dedicated Macro Lens
If you find yourself shooting macro every week, a dedicated lens like the Canon EF 100mm f/2.8L or Sigma 105mm f/2.8 is worth the investment. These lenses offer 1:1 magnification, autofocus, image stabilisation, and superb optical quality. They are also easier to use with flash and focus stacking. But they cost £400 to £800. For occasional use, reverse lens macro is a fraction of the price.
Our Verdict: Is Reverse Lens Macro Worth It?
Absolutely, with caveats. It is a fantastic way to explore extreme close-up photography without spending much. But it demands patience and practice.
Pros and Cons
- Pros: Extremely cheap, high magnification, uses legacy glass you may already own, great learning tool.
- Cons: No autofocus, no automatic aperture, dark viewfinder, dust risk, very shallow depth of field.
Final Recommendations for UK Shooters
If you are on a tight budget, start with a reversing ring and a Pentax-M 50mm f/1.7. Buy from Wex Photo Video or a reputable eBay seller. Practice on static subjects like coins and flowers before chasing insects. And consider focus stacking later to extend depth of field, but be warned: it requires a steady tripod and a lot of patience.
FAQ
Can I use reverse lens macro with a modern autofocus lens?
You can, but it is not ideal. Modern lenses often lack a manual aperture ring, so you cannot control the f-stop. You can use the aperture trick, but it is awkward. Legacy manual lenses are much better suited.
What is the cheapest reversing ring for a Canon or Nikon camera?
You can find reversing rings on Amazon UK for under £10. Just make sure you buy the correct filter thread size for your lens (e.g., 49mm, 52mm, 58mm) and the correct mount for your camera body.
Is reverse lens macro better than a Raynox DCR-250?
It depends on your needs. Reverse lens macro gives higher magnification for less money, but the Raynox DCR-250 is easier to use and maintains electronic control. For pure magnification on a budget, reversing wins.
How do I avoid dust on the rear element when reversing a lens?
Always carry a rocket blower and check the rear element before each shot. Avoid changing lenses in dusty environments. A small brush can also help.
Can I use reverse lens macro for video?
Yes, but it is challenging. The shallow depth of field and manual focus make it difficult to keep moving subjects sharp. It works best for static shots or very slow-moving subjects.
Reverse lens macro is a rewarding, low-cost entry into extreme close-up photography. It forces you to slow down, think about light, and embrace manual control. So dig out that old film lens, buy a cheap adapter, and experiment with the UK’s soft overcast light. You might be surprised at the detail you can capture.



Post Comment