Depth of Field in Macro: Aperture, Diffraction and Magnification
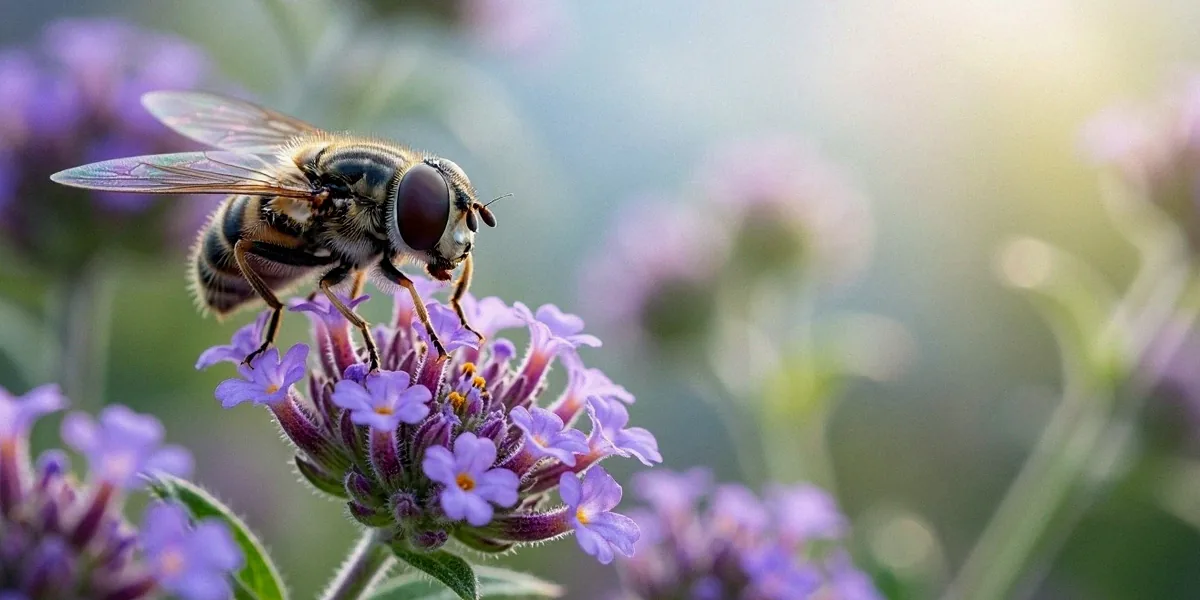
You’ve just nailed focus on a bee’s eye at 2:1 magnification. The compound facets are tack-sharp, the individual hairs on its face stand out beautifully—and then you notice the rest of its head is a blurry mess. The antenna is soft, the mandibles are mush, and the shot you imagined doesn’t quite exist. Welcome to the depth of field struggle in macro photography, the single biggest technical hurdle we face when working at high magnification. In this guide, we’ll break down why depth of field collapses so dramatically in close-up work, how aperture and diffraction pull in opposite directions, and how tools like focus stacking and the Raynox DCR-250 can help you get the shot you actually want.
Why Macro Depth of Field Is So Razor-Thin
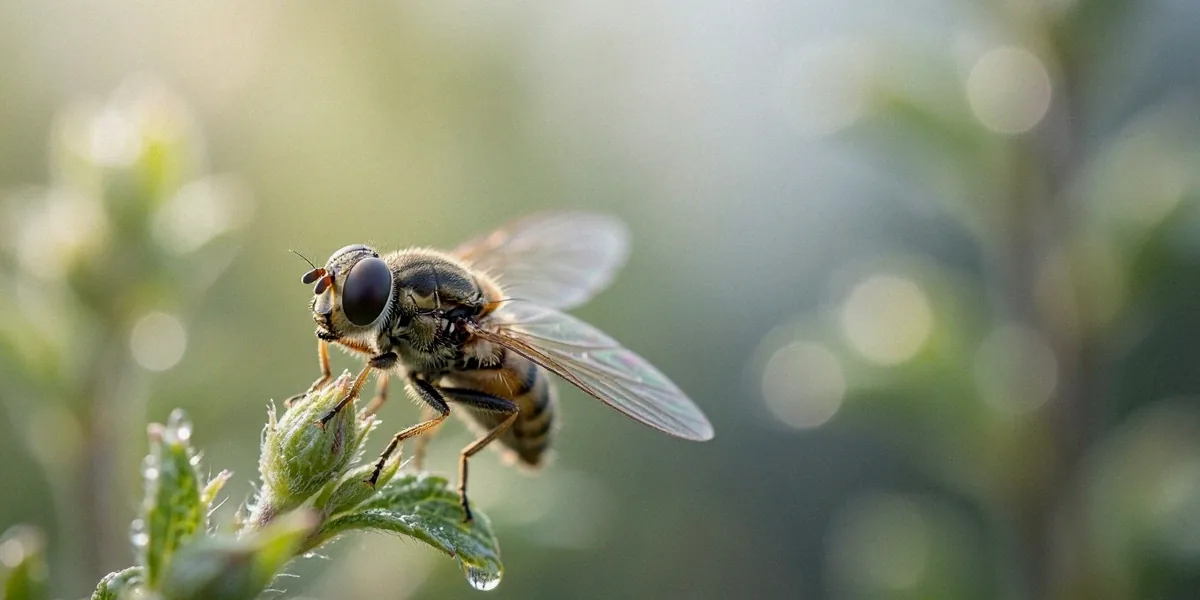
Depth of field is the zone in front of and behind your focus point that appears acceptably sharp. At normal shooting distances, that zone might span several metres. At macro distances, it shrinks to millimetres. A 100mm macro lens at 1:1 magnification and f/8 might give you only 1–2mm of usable sharpness—barely enough to cover a bee’s eye, let alone its whole face. This isn’t a flaw in your technique; it’s optical physics. As magnification increases, depth of field decreases in proportion to the square of the magnification.
Here in the UK, our unpredictable light makes this worse. An overcast afternoon in the Peak District might give you a usable f/11, but the moment a cloud shifts or a breeze picks up, you’re forced to open up to f/4 or f/5.6 just to keep your shutter speed workable. That wider aperture buys you light and freezes motion, but it costs you depth of field—often the exact thing you needed most.
The Magnification Factor: How 1:1 vs 2:1 Changes Everything
At 1:1 (life-size), a subject 20mm across fills your frame. At 2:1, that same subject is twice as large on the sensor, but your depth of field roughly halves. Push to 3:1 or 5:1 with a Raynox DCR-250 or a dedicated super-macro lens, and you’re working with fractions of a millimetre. This is why insect photographers obsess over focus stacking—there’s simply no single aperture that will render a whole beetle sharp at 3:1.
Sensor Size Matters: Full-Frame vs Micro Four Thirds for UK Macro Shooters
Micro Four Thirds cameras offer a genuine advantage here. Because of the 2x crop factor, a 60mm MFT macro lens gives the same field of view as a 120mm full-frame lens, but with greater inherent depth of field at the same aperture. For UK shooters chasing skittish insects in the field, that extra depth can mean the difference between a keeper and a delete. Full-frame still wins on noise performance and dynamic range, but for pure macro reach and depth, MFT is a serious contender.
Aperture: Your First Line of Defence (and Its Limits)
Stopping down is the most obvious way to gain depth of field, and it works—up to a point. At f/2.8, you get dreamy, creamy bokeh and a razor-thin slice of focus, perfect for isolating a single stamen or a butterfly’s proboscis. At f/8, most macro lenses hit their sweet spot: sharp across the frame with a workable depth of field. At f/16, you gain more depth but start losing fine detail to diffraction. Lenses like the Canon RF 100mm f/2.8L Macro and the Sigma 105mm f/2.8 Art both perform brilliantly at f/8, but even these premium optics can’t escape the physics of small apertures.
The Sweet Spot: Finding Your Lens’s Sharpest Aperture
Every lens has an aperture where resolution peaks before diffraction takes over. For most macro lenses, that’s f/5.6 to f/8. We recommend testing your own glass: shoot a detailed subject like a coin or a stamp at every full stop from f/2.8 to f/22, then compare at 100% on screen. You’ll see the sharpness climb, plateau, then fall away. Knowing that tipping point is essential for planning your macro sessions.
When to Break the Rules: Using f/2.8 for Artistic Effect
Sometimes a sliver of focus is exactly what you want. A dew-covered damselfly at dawn, with only its eye sharp and everything else dissolving into soft green bokeh, can be far more striking than a technically perfect stacked image. Don’t be afraid to open up wide when the story calls for it.
Diffraction: The Hidden Image Killer
Diffraction is what happens when light waves pass through a small opening and spread out, softening the image. The smaller the aperture, the more pronounced the effect. On many macro lenses, diffraction typically becomes visible at f/11 or smaller, especially at high magnification. We’ve watched plenty of UK macro photographers push to f/16 or f/22 in pursuit of depth, only to end up with images that look flat and mushy at 100%—the depth is there, but the detail isn’t.
How to Test Your Lens for Diffraction Limits
Set your camera on a tripod, focus on a detailed flat subject at 1:1, and shoot a series from f/5.6 through f/22. Compare the centre crops side by side. You’ll usually see the sharpness peak around f/8, hold steady to f/11, then drop off noticeably by f/16. That drop-off is diffraction, and once you’ve seen it, you’ll never unsee it.
Balancing Depth of Field and Sharpness: A Practical Approach
Our rule of thumb: never stop down past f/11 unless you absolutely must, and if you do, consider focus stacking instead. A stack of five shots at f/5.6 will almost always beat a single frame at f/22 for both depth and detail.
Magnification: The Double-Edged Sword
Increasing magnification is the whole point of macro photography, but it’s also the fastest way to destroy your depth of field. Extension tubes, close-up filters, and dedicated super-macro lenses all push you closer, and every step closer halves your working depth. The Raynox DCR-250 is a popular clip-on close-up lens for super macro on a budget in the UK—it snaps onto the front of almost any lens and delivers impressive magnification for under £70. The trade-off? Depth of field drops to a sliver, and working distance shrinks to a few centimetres, which spooks skittish subjects.
Using Raynox DCR-250: Magnification vs Depth of Field Trade-Off
The Raynox DCR-250 works best on lenses with longer focal lengths—a 100mm macro with the Raynox attached can push you to 2:1 or beyond. But at that magnification, you’ll be shooting at f/8 or wider just to keep the image usable, and focus stacking becomes almost mandatory for anything with depth.
Extension Tubes vs Close-Up Filters: Which Is Better for UK Wildlife?
Extension tubes preserve optical quality because they contain no glass, but they reduce light and can be fiddly in the field. Close-up filters like the Raynox are faster to deploy and don’t cost you light, but they can introduce chromatic aberration at the edges. For UK wildlife—bees, butterflies, damselflies—we generally reach for the Raynox for speed and flexibility.
Focus Stacking: The Ultimate Workaround
Focus stacking is the macro photographer’s secret weapon. You take multiple shots at different focus distances and combine them in software like Helicon Focus or Zerene Stacker, both widely used by UK macro enthusiasts. Because you can shoot at f/5.6—well clear of diffraction—you get deep depth of field without sacrificing sharpness. Garden insects, wildflowers, fungi, and mosses all stack beautifully, and the results can be breathtaking.
Field Techniques for Focus Stacking Without a Tripod
Handheld stacking is possible with practice. Brace your elbows, set your camera to high-speed burst, and gently rock forward through the focus plane while firing. It’s not as reliable as a tripod, but for live subjects that won’t sit still, it’s often the only option.
Software Choices: Helicon Focus vs Photoshop for UK Macro Shooters
Helicon Focus handles complex stacks with ease and offers excellent retouching tools. Photoshop’s auto-blend is fine for simple stacks of three to five frames but struggles with larger sets. For serious macro work, Helicon Focus or Zerene Stacker is worth the investment.
Practical Tips for UK Macro Photographers
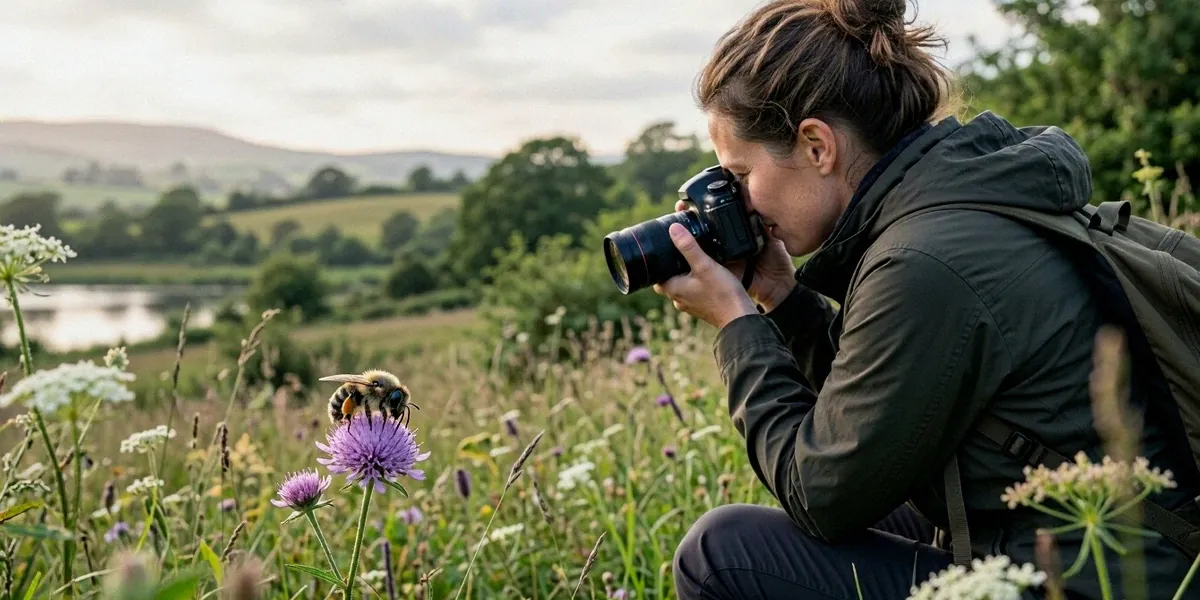
Mastering depth of field in macro is as much about field craft as it is about settings. Here’s what works for us:
- Use a tripod whenever possible—it’s the single biggest upgrade to your keeper rate.
- Shoot early morning when insects are cold and sluggish, and wind is minimal.
- Use a diffused flash to freeze motion and let you stop down without losing light.
- Visit prime locations like Kew Gardens or the Scottish Highlands for rich macro subjects.
- Experiment constantly—every lens, subject, and location teaches you something new.
Dealing with Wind: UK Weather and Macro Depth of Field
Wind is the UK macro photographer’s constant enemy. Even a gentle breeze will move a flower head out of your focus plane between frames. Use a collapsible diffuser as a windbreak, shoot in sheltered spots, and accept that some days are better suited to wide-aperture artistic shots than technical stacks.
Recommended Settings for Common UK Subjects: Bees, Butterflies, Fungi
For bees: f/8, 1/250s, ISO 400, diffused flash—or a five-shot handheld stack. For butterflies: f/5.6 to f/8, 1/500s, and patience. For fungi: tripod, f/8, and a 10–20 shot stack for maximum detail. Adjust with the light, not against it.
FAQ
What aperture is best for macro photography?
For most macro lenses, f/8 is the sweet spot—sharp across the frame with a workable depth of field. Stop down to f/11 if you need more depth, but avoid f/16 and beyond unless you’re stacking, as diffraction will soften fine detail.
Is the Raynox DCR-250 worth it for UK macro shooters?
Absolutely. It’s one of the cheapest ways to reach super-macro magnification, clips onto most lenses, and delivers excellent results. Just be prepared for a very shallow depth of field and a short working distance.
Can I focus stack without a tripod?
Yes, with practice. Use burst mode, brace yourself well, and rock gently forward through the focus plane. It won’t match tripod precision, but for live insects it’s often the only realistic option.
Why do my macro photos look soft at f/22?
Diffraction. At very small apertures, light waves spread as they pass the aperture blades, softening the entire image. On most macro lenses, diffraction becomes visible at f/11 or smaller, especially at high magnification.
Which focus stacking software is best for macro?
Helicon Focus and Zerene Stacker are the two most popular choices among UK macro enthusiasts. Helicon is more user-friendly; Zerene offers finer control for complex stacks. Photoshop works for simple stacks but struggles with larger sets.
Mastering depth of field in macro photography is a balancing act. Embrace the limits of diffraction, use focus stacking when the subject demands it, and remember that a compelling story—a bee mid-forage, a dew-covered damselfly—will always beat technical perfection. Get out there, experiment, and let the UK’s endless supply of tiny wonders teach you the rest.


Post Comment